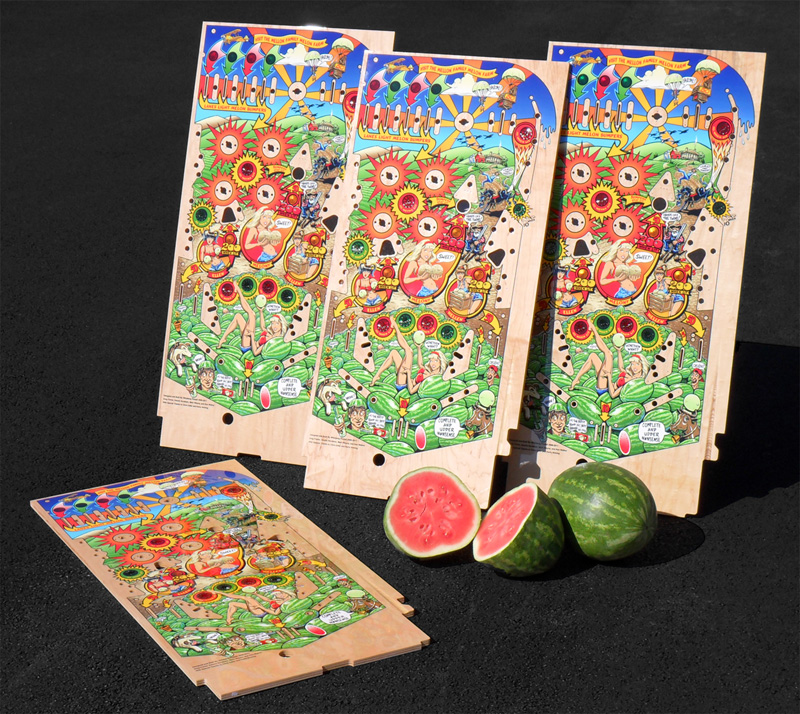
Playfield Installation and Care

null

1. CURE DATE
OPEN UPON ARRIVAL. DO NOT LEAVE BOXED UP. LET PLAYFIELD SIT IN OPEN AIR.
Due to the swift post-production distribution of playfields to waiting customers, it is almost certain that the polyeurethane clearcoat on
your new playfield when arrived in your possession is only 2 to 3 weeks old.  Therefore, the cure date for your playfield is recommended
to be 30 days after receipt.  Mark your calendar, and don’t skimp on the 30 days.  45 days is even better.
In the meantime, you CAN perform your swap before the cure date if you want.  This can be a time consuming and meticulous
process, even for the experienced.  So if you want to get a head start, go ahead.  Completely swap, just don’t play on it.

Do NOT play a ball on the surface until after your cure date.

Do NOT wax, use Novus, Windex, etc…anything to clean or polish the surface until after your cure date.

2. PRE-CLEANING INSERTS

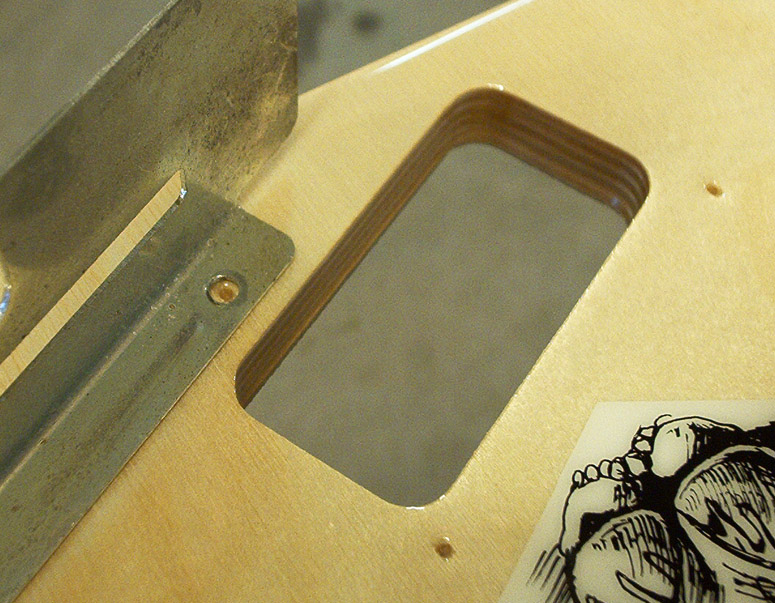
We tried to keep the boards as clean as possible, but shop-dirt or sanding dust may have settled inside insert cavities during handling
or shipping.  Simply use an air compressor blow-gun to blast out any dust.  If anything remains you can use a Windex-dampened
cotton swab to shine the inserts from the bottom side of the playfield.  Take the opportunity to do this before your swap, as you have easy access to all the holes.  Once all the bulbs and wiring are on there, much more difficult.

Insert Cleaning

3. ROLLOVER INSERTS (may not apply to all playfields)
If your new playfield has star/rollover inserts, this step must be performed.

Do not be tempted to snap your new stars into your rollovers immediately. Getting the stars out once snapped-in is tricky and risks snapping the delicate tabs on the insert ! It is recommended that you wait until your CURE DATE is reached, so the clearcoat is totally hardened.  New clearcoats have a habit of “bulging” over the ends of *some* of the star tip slots in the rollovers.  This subtle “bulge” makes the white nylon star not snap-in properly because a tip or two won’t plunge.

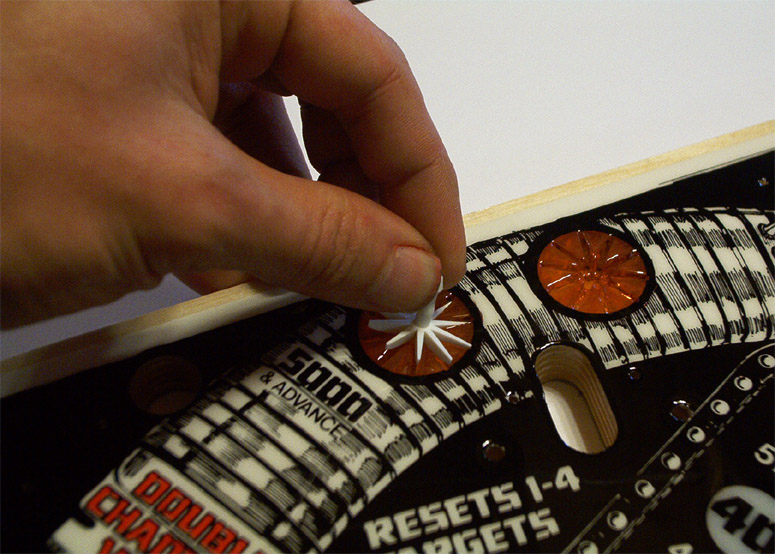
When your playfield has totally hardened, all you need to do is perform this simple test.  Hold one of your white nylon stars upside down, with the stem in your fingers.  Seat the star into the rollover and slowly rock it around in all directions, allowing each star tip to plunge into its slot individually (see photo).  Feel for any difficulty.  Each tip should plunge easily – but maybe not every one will.

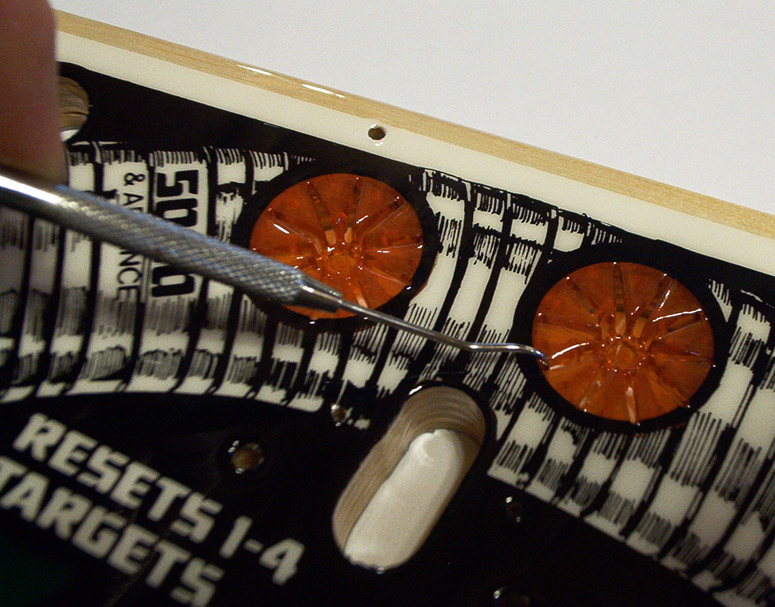
If you encounter a tip that won’t plunge smoothly, investigate that slot and you will notice that there is a clearcoat “bulge” at the very tip of the slot.  TO TAKE CARE OF THE SLOT, use a dental tool to “pull back” the clear from the end of the slot (see photo).  You may also want to use the sharp point of the dental tool to “pick off” the piece of “bulge”, or push it down into the slot.  Either way, go slow, and do it cleanly.  Since the clearcoat has hardened, you should experience only a slight amount of “rubbery” feeling in the clear.
This is why you do NOT do this until your CURE DATE.

You can also use a brand new scalpel or Xacto Knife to work on the tiny “bulge”.  Using a combination of the non-sharp backside of the blade, and slicing with the sharp part of the blade, removing the “bulge” is also very easy if you take your time.  Do it cleanly.

When you have dealt with all the bulges, perform the star-rotate test again.  Your star tips should individually plunge easily.

At this point, you should be safe to turn the star over, and snap it stem-down into the rollover insert.  It should bob up and down quite freely, and thus will operate properly with a leaf switch to hold it in the upright position when you do your swap.

4. DIMPLES AND HOLES
The holes (which mean all the way through the wood from front to back) are matched to two or more selected factory playfields,
and you can follow them as the gospel.  Our drilling should be dead-on with factory originality.

Dimples, on the other hand, we mapped based on a single factory playfield that was traced. They are provided for convenience during the swap process.  For most items like bulbs and posts, any deviation isn’t great enough to make any difference, if deviation exists.  CPR’s dimples are easily within 1mm in any direction of where they should be, which is an acceptable tolerance.  The bottom, specifically, was imprinted using a dimple press, and the dot array was “stamped” into the wood in one shot.  But that shot could have tiny variance in any direction.
This is explained so you don’t start second-guessing parts positioning if you find a slightly better position.  Better is better!

For crucial hardware (flipper mechanics, ball trough, etc), don’t just plunge screws into the dimples without checking the physical position of the hardware itself.  Always check that your hardware is in its proper position, then look to see where the screw holes in the hardware are positioned.  If they are over the dimples, great.  If they are not, slightly move the part and see if the dimples are close by.

Make a judgement call on either following the dimples, or not following the dimples in those cases.  Proper (or better) positioning takes precedence over following the dimples.   Don’t feel “stuck” to the dimples!   Remember, our dimple pattern is based on one
playfield, and through the thousands of original playfields made back at the factory, parts were hand-screwed via a template.
Every original playfield is slightly different in where the parts were drilled-in.  This is normal.  Go slow, it will all work.

5. SCREWING INTO CLEARCOAT

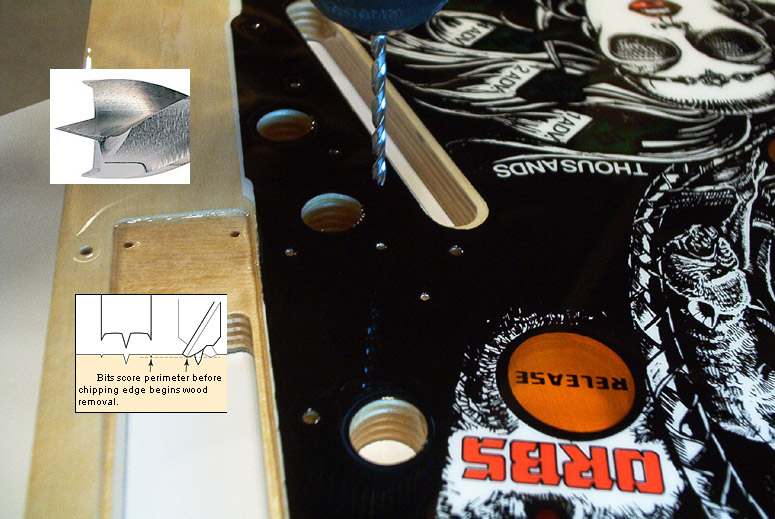
It is highly recommended to use a small BRAD-TIPPED drill bit to “start” the dimples.  This prevents screw-splitting the new wood.
Always use a bit size that is 20 to 40% smaller than the screw diameter itself.  The screw needs something left to bite into.

6.  SWAP TIME OPPORTUNITIES

For most, this is a no-brainer, but just in case this is your first time…the playfield swap allows for unprecedented access to cleaning
and updating playfield parts.  Take the opportunity to consider having done the following before starting your playfield swap:

  • New set of balls – surely a must.  Don’t start off your new playfield with old balls.
  • New plastics set – a perfect marriage to a new playfield.
  • Tumble-polish all your metal parts – bring out the chrome on all your posts, ramps, ball guides, etc.
  • New screws, T-nuts, bolts
  • New white nylon star rollovers (if applicable)
  • New rubbers set – including flipper rubbers
  • New pop bumper caps and drop targets
  • New bulbs – might as well give all your new inserts fresh bright light
  • CLEAN everything!  pop bumper bodies, flipper bats, lane guides, etc.
  • Put all the plastic posts through a dishwasher cycle (sitting in a deep collander)

7. ONGOING CARE OF A CPR REPRO PLAYFIELD

Proper long-term care after the playfield is installed will be the key to keeping it shiny and beautiful.  We made these to stand the test of time.  You shouldn’t need to go crazy with waxing and several cleaning / polishing / products to keep the playfield nice.  Avoid going overboard.

We recommend a simple Novus 2 process.  If you ever find your playfield getting “dull”, wipe on Novus 2 with a cloth and allow to dry / haze.
Then take a clean cotton cloth (like an old t-shirt) and buff the haze away.  Keep rotating the cloth and using a clean face as often as possible.
This will polish it nice and shiny, keeping the sheen of the clearcoat, and protecting all the open (ball-active) & visible areas of the playfield.

Waxing should never be required.  That is a personal taste of the owner, though.  Besides, you won’t be waxing under the plastics and non-ball areas unless you want to perform a playfield strip every time you want to wax.   But…some people just love to wax.

We recommend staying away from WildCat, as it has been proven to eat away polyeurethane topcoats slowly over time.

As mentioned in Part 6, keep your balls fresh.  Your best defence.  Change to taste, after every 500 to 1000 games.